

Showing posts with label sewing. Show all posts
Showing posts with label sewing. Show all posts
January 3, 2019
handwork...
Machine stitching now complete - time to start the handwork. Extremely time consuming and a mindless activity. I like to watch movies when I'm doing the handwork.

September 11, 2015
In the zone...
When working on a new art quilt, I find it hard to keep up with my blogs, photography, etc. The art of the quilt is very time consuming. It's my passion.


Some of my tools
Quilting process (I took the photo with my Apple watch!)
Linking to:
April 8, 2013
Spools of Thread...
Vintage spools of thread and buttons too. The shelves in the haberdasher's shop in Sherbrooke Village, Nova Scotia were filled with sewing memorabilia.
A stitched brush added a nice "frame" to the photo.

"Edith" and "Isobel" textures courtesy of Kim Klassen.
Linking to:
January 28, 2013
Making a Small Quilt
It's that time of year again - SAQA's on-line auction. These small works measure 12" x 12". The auction begins on Monday, September 29 at 2PM EST.
I like the challenge of making something small since most of my quilts are quite large. Working intuitively, this piece came together very quickly.


I love this little piece. I designed a very "modern" brightly colored flower to contrast with vintage look of the little girls - added some buttons - and called it done!

Linking to:
I like the challenge of making something small since most of my quilts are quite large. Working intuitively, this piece came together very quickly.
assorted cream colored fabrics cut into strips of varying widths
strips sewn together
to add a little interest, rubber stamped butterflies
image transfer of a vintage little girl photo in my stash of photos; some of my quilt markings shown here. The silk fabrics on the right will soon become a flower
quilting done; hand stitching binding
Two Girls and a Flower
Linking to:
December 7, 2012
Hunt's Christmas stocking...
One never knows when a creative opportunity will arise. I was asked by a woman (Marilyn) who came to my garage sale if I knew anyone who sews (seriously!). "I sew" I replied. "What do you need?" She had a Christmas stocking that had been stitched by an unknown person and finished by an acquaintance. She was in desperate need of getting the piece of needlework turned into a Christmas stocking - pronto! How could I possibly say "no"?
Here is the needlework (which needed blocking). Pinned to foam core, spritzed with water and left to dry. The stitches now pop and piece lies flat. We're good to go.

On the reverse side of stitchwork, a seam allowance was drawn with pencil. Rights side together with supplied faux red velvet for back of stocking - but wait - she provided no fabric for a lining (lining, huh?) Yes, of course, this puppy must be lined or all those yarns will show - no way, Jose! Luckily, I have tons of fabric suitable for a lining. Stitch the two stockings (original and lining) right sides at the top seam. Looks weird - don't worry magic is about to happen. Turn right sides out and blind stitch the "turning" seam on lining - voila!

Hunt's Christmas stocking looks vintage and is so precious. I know Marilyn will be as happy with it as I am.

Here is the needlework (which needed blocking). Pinned to foam core, spritzed with water and left to dry. The stitches now pop and piece lies flat. We're good to go.
Hunt's Christmas stocking looks vintage and is so precious. I know Marilyn will be as happy with it as I am.
Now it's time for me to get back to work on my own Christmas gifts.
Linking to:
October 9, 2010
It's in the Bag!
I know I'll do some shopping in Germany - who am I kidding - I'll do lots of shopping! I need an extra carry-on bag. I have a large purse for my laptop, I-pad, camera, etc. I looked at a few stores for a tote and then I thought to myself, why am I buying one - make it instead. 18x8x3 seemed like a good size - not too large - just right.


The process:

canvas with layer of gesso and acrylic paints

additional acrylic paint added with hand carved stamp

painted canvas strip to be used for handle straps

In the same manner as the thank you card made last week, a shape for the face was roughly painted in.
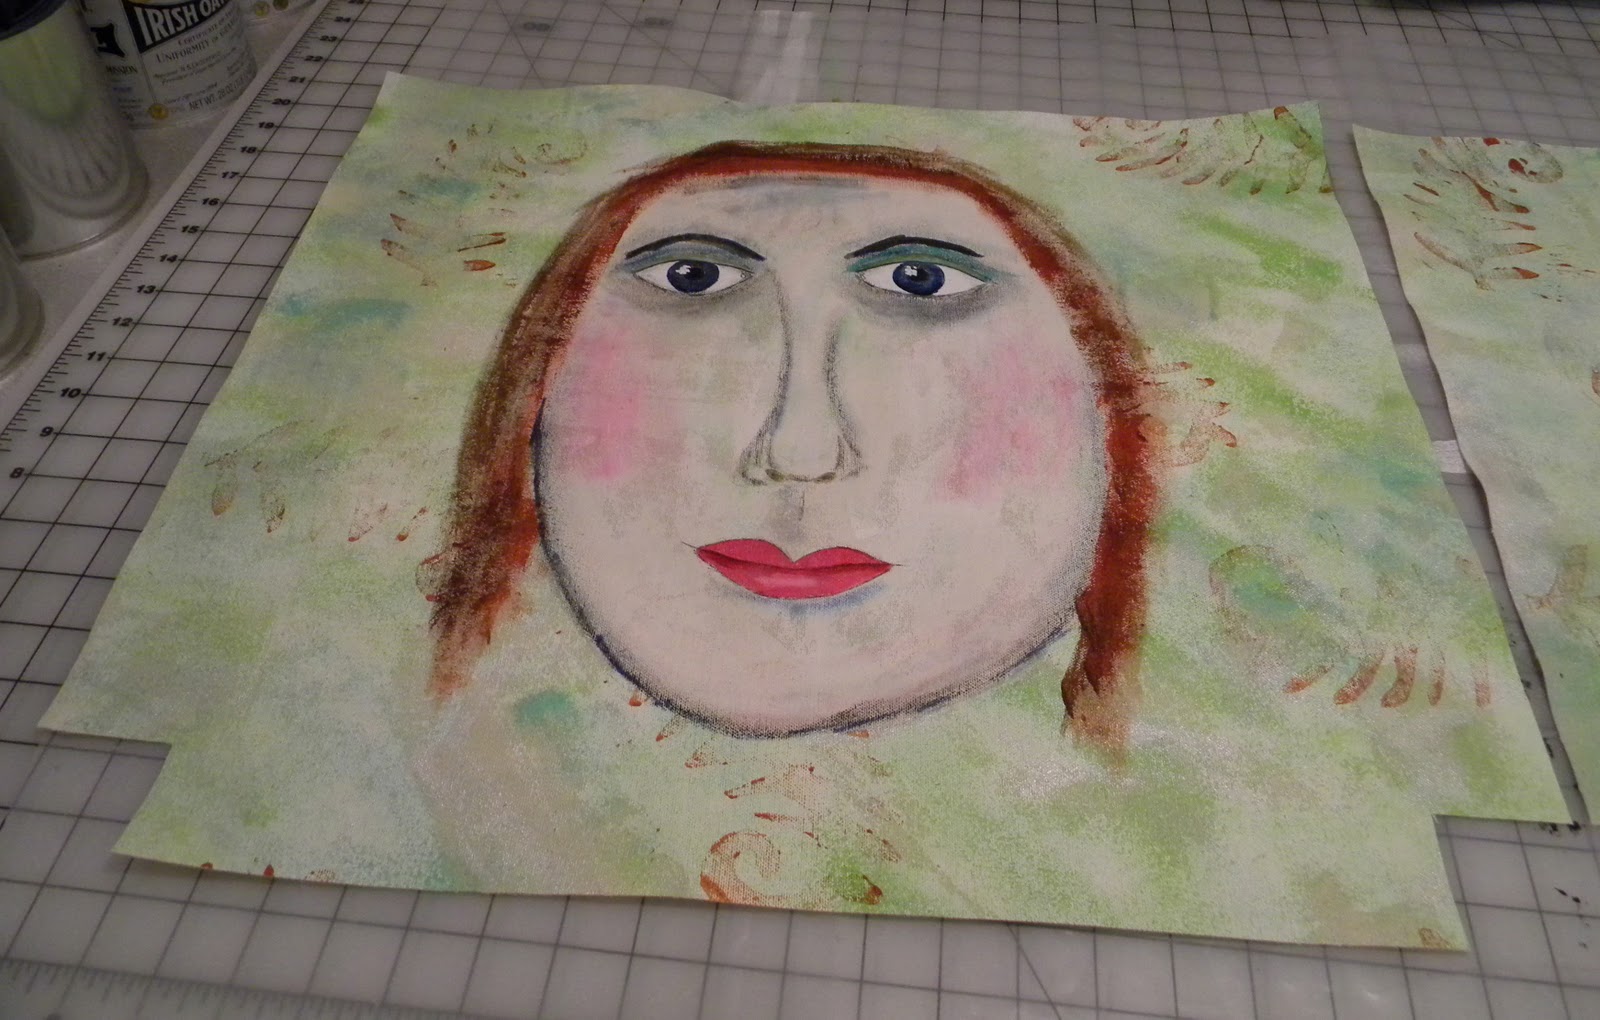
finished face

2" on the sides folded; top stitched to add definition to the tote

handles (lined with my hand dyed fabric), turned right side out

handles basted in position; side and bottom seams sewn together. A lining (my hand dyed fabric) for the bag was made, stitched to the top seam of bag (right sides together) leaving an opening in the bottom seam of lining to turn the bag right side out. The top seam was then top stitched.

Finished bag (side A)

Finished bag (side B)
The bag has two sides, of course!
Valcro was sewn inside the bag as a finishing touch. This was fun to make. It was necessary to use a leather needle to sew through this heavy weight canvas and pima cotton lining. I know I'll use this bag a lot on my trip to Germany.
Please visit Pink Saturday for more inspiration.
July 17, 2010
Boxed In
Making boxes is challenging and exciting. Little bits of this and that come in handy when making a box - they are small so one doesn't need a lot of any particular embellishment to make something wonderful! These boxes were made not only as decorative items, but to house something especially dear.


The "bean" in Chicago - I love that town! - inspiration for the next box

sketch of Chicago skyline

paper pieced pattern and samples of materials and stitching to create the box

back of box - Jay Pritzker Pavillion (silk and sequins)

front of box - high rise buildings (ultra suede) and John Hancock building (window screening)

As a surprise, this box holds my version of the Picasso sculpture (free motion machine embroidery)
I challenge you to make a box to house one of your treasures!
Please visit Pink Saturday to see some amazing things!!
July 10, 2010
Landscape Pillow
Quite a few years ago, I had a chair covered with my needlepoint. This chair needed a pillow - don't they all?! A couple of vacation photos inspired the design of the pillow.


Sketches were drawn combining pleasing elements from both photos.

The pillow is made of hand painted silk dupioni. Several layers of silk organza stitched in place represent the mountains. Dark green silk dupioni stitched over top represents the trees. The topmost layer consists of light green silk dupioni (flower stems), raspberry silk dupioni and ultra suede (flowers).

Narrow piping made of lilac silk dupioni adds a finishing touch to the pillow.

I prefer an eclectic style of decorating. The landscape pillow looks happy in its new home.
Subscribe to:
Posts (Atom)